

Table of Contents
In recent years, many companies have turned to containerization for application delivery. However, containerization in an enterprise or production-grade environment presents different levels of complexity in terms of managing containerized applications at scale. Companies with sizable workloads in production could end up running up to thousands of containers over time.
These containers need to be deployed, managed, connected and updated. This can be achieved manually with a few containers, but a large enterprise application would require an entire team dedicated to the task.
This problem of managing multiple containers is what prompted container orchestration tools like Docker Compose and Kubernetes.
Docker Compose is an orchestration tool that simplifies the creation of Docker-based multi-container applications. Compose makes it easy to define and start up a multi-container application and any accompanying services by using a single YAML file, then running a single command to start and run the entire application.
Kubernetes is categorized as a container orchestrator or container scheduler. It is an open-source system for automating deployment, scaling, and management of containerized applications.
This article will detail some of the reasons why you should transition from Docker Compose to Kubernetes and provide a step-by-step guide on how to carry out this migration using Kompose, as well as suggestions on other helpful tools for deploying.
#Why Move from Docker Compose to Kubernetes?
Here are some factors that may make migration to Kubernetes the best choice for your applications.
#Compose’s Single-Cluster Limitation
Containers in Docker Compose are designed to run on a single host. This presents a network communication challenge when an application workload is distributed across multiple hosts or cloud providers. In Kubernetes, multi-cluster or multi-cloud deployments are easier to configure and manage.
You might be interested in our 5 part kubernetes multi-cluster series. In part 1 we talk about Kubernetes multi-cluster deployments, part 2 discusses Kubernetes cluster lifecycle, part 3 describes authentication and access control in Kubernetes, part 4 explains Kubernetes Self-service, and lastly part 5 talks about Kubernetes cost optimization.
#Compose’s Single Point of Failure
When working with a Docker Compose-based application, the server running the application must be kept running for the application to continue working. This means the server running Compose becomes a single point of failure. In contrast, Kubernetes usually is run in a highly available (HA) state with multiple servers that deploy and maintain the application to the different nodes. Kubernetes also manages the scaling of the nodes based on resource utilization.
#Kubernetes Extensibility
Kubernetes, as a platform, is highly extensible, which makes it popular among developers. It consists of native resource definitions such as Pods, Deployments, ConfigMaps, Secrets, and Jobs. Each one serves a specific purpose and is key to running applications in the cluster. Software developers can add custom resources using CustomResourceDefinitions, which can also be created and used through interaction with the Kubernetes API server.
Software teams can use Kubernetes to write their own controllers and operators. Custom controllers are specific processes running in a Kubernetes cluster following what is known as the control loop pattern. They are used to regulate the cluster state and ensure that the actual state matches the desired state. Custom controllers and operators allow users to automate the management of CustomResourceDefinitions by talking to the Kubernetes API.
CRDs extend the API with support for arbitrary data types. Each CRD you create gets its own API endpoints that you can use to query, create, and edit instances of that resource. Custom resources are fully supported within kubectl, so you can run commands like
kubectl get backgroundjobsto interact with your application’s objects. Here’s an article with tutorial explaining Extending Kubernetes with Custom Resource Definitions (CRDs)
#Kubernetes Open Source Support and Large Ecosystem
Kubernetes is a prominent and powerful platform that continues to grow exponentially in enterprise adoption. For the past two years, it has ranked as one of the most loved platforms as well as one of the most desired among software developers. As a container orchestration or container management tool, it stands far above the rest.
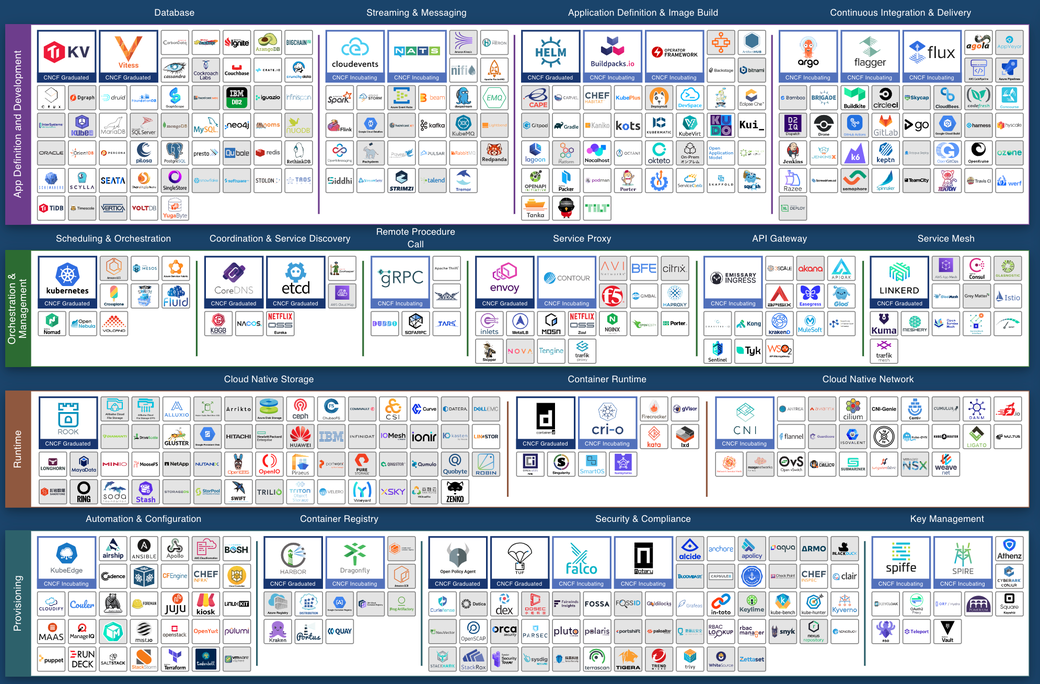
Today, Kubernetes is synonymous with cloud-native container orchestration. It has more than 1,800 contributors and more than 500 meetups worldwide, and more than 42,000 users have joined the public #kubernetes-dev channel on Slack. In addition, Kubernetes has a large ecosystem that can be seen in the CNCF Cloud Native Landscape. These cloud native software tools help in the efficient use of Kubernetes and reduce any issues caused by its complexity.
#Step-by-Step Migration
In this section, you will convert a basic, two-tier containerized application, initially designed to run using Docker Compose for deployment, to a Kubernetes environment. The application consists of a frontend developed in React.js and a backend developed in Node.js. The source code for the application can be found here.
#Docker Compose Configuration
As mentioned above, Compose uses a single configuration file to orchestrate multi-container applications. This file allows you to define the types of containers you want to run by specifying various details such as build configurations, restart policies, volumes, and networking configurations. Below is a docker-compose file for the application that you will be translating.
version: "3.3"
services:
 client:
   image: 'lukondefmwila/dkr-multicontainer-app-client'
   #build:
    # dockerfile: Dockerfile
    # context: ./client
   restart: on-failure
   container_name: client
   ports:
     - '3000:3000'
 backend:
   image: 'lukondefmwila/dkr-multicontainer-app-backend'
   #build:
    # dockerfile: Dockerfile
    # context: ./backend
   restart: on-failure
   container_name: backend
   ports:
     - '3001:3001'
This file specifies that the client and backend containers should be built from images stored in Docker Hub repositories. If you want to modify the application source code and rebuild the images, you can comment out the image lines and uncomment the build configurations in the respective services.
To test the application, run the following command:
docker-compose up
#Modifying the Docker Compose File
Converting the above configuration file as it is would not produce the exact outcome that you want. Kompose will generate Pods and services for each service. However, the services created will only allow ingress traffic to the Pods from within the cluster (cluster IP service). To ensure that the application is exposed to external traffic, you will have to add a certain label to the services in Docker Compose. This label will specify the type of Kubernetes service that should front the Pods.
labels:
  kompose.service.type: LoadBalancer
#Install Kompose
To install Kompose, you can follow the steps below, which are also outlined on the official website:
# Linux
curl -L https://github.com/kubernetes/kompose/releases/download/v1.22.0/kompose-linux-amd64 -o kompose

# macOS
curl -L https://github.com/kubernetes/kompose/releases/download/v1.22.0/kompose-darwin-amd64 -o kompose

chmod +x kompose
sudo mv ./kompose /usr/local/bin/kompose
#Create Kubernetes Manifests with Kompose
The next step is to create the Kubernetes manifests by running the command below at the same level as your docker-compose.yaml file.
kompose convert
You should then see this output:
INFO Kubernetes file "client-service.yaml" created
INFO Kubernetes file "client-pod.yaml" created
INFO Kubernetes file "backend-service.yaml" created
INFO Kubernetes file "backend-pod.yaml" created
#Deploy Resources to Kubernetes Cluster
Lastly, in order to declare the desired state in your cluster, you can create the Kubernetes resources by running the kubectl apply command and specifying all the files created by Kompose.
kubectl apply -f client-service.yaml,client-pod.yaml,backend-service.yaml,backend-pod.yaml
#Other Options
There are other tools you can use when deploying to Kubernetes. Here are a few to consider.
#DevSpace
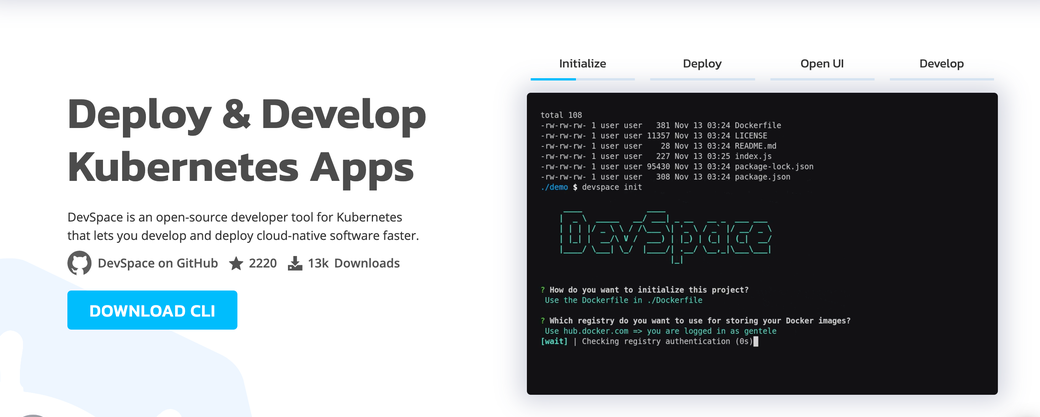
DevSpace is an open-source command-line interface (CLI) tool specifically for Kubernetes. Similar to kubectl and Helm, it uses your current kube-context. It allows developers to work directly inside of Kubernetes clusters to reduce the likelihood of configuration drift when deploying the application to a production Kubernetes environment. DevSpace is lightweight and works with platforms like Rancher, Amazon EKS, and Google Kubernetes Engine (GKE) on Google Cloud Platform (GCP) and other public cloud providers. Details on how to install DevSpace can be found here.
#Skaffold
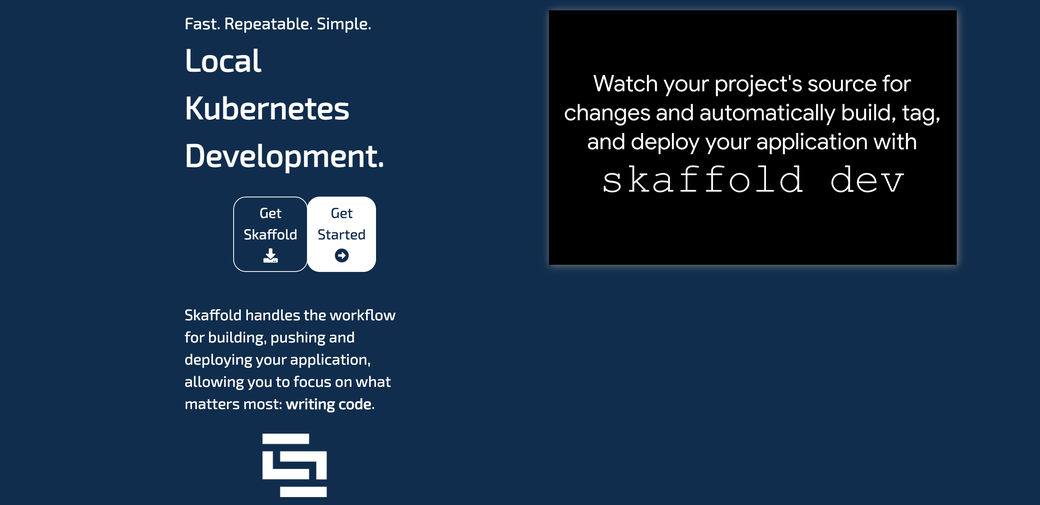
Skaffold is a CLI tool created by Google that handles developer workflows for building, pushing, and deploying your application. Skaffold helps you focus on the ongoing changes to your application locally, while Skaffold continuously deploys to your local or remote Kubernetes cluster. To install Skaffold, just follow the listed steps.
The command skaffold init can generate the initial configuration to deploy a project to Kubernetes.
skaffold init --compose-file docker-compose.yaml
#Conclusion
Docker Compose is simpler by design and more convenient than Kubernetes to get an application up and running quickly for local development workflows. All the necessary configuration for running a multi-container application is stored in a single file. More than that, the container orchestration lifecycle in Compose can be managed by just a few commands: docker-compose build, docker-compose up, and docker-compose down.
On the other hand, its simplicity can become a source of frustration for developers. Kubernetes has much better fault tolerance and, by design, is built to run on many hosts. Furthermore, it allows developers to create custom resources to meet additional needs that may arise during development. And its popularity means that it offers a larger, still-growing community of contributors and participants that can serve as a resource.
The flexibility and capability of Kubernetes and the availability of other deployment tools can make the platform an attractive choice for your development cycle.
Photo by Austin Distel on Unsplash
#Additional Articles You May Like:
- Kubernetes Development Environments - A Comparison
- Development in Kubernetes - Local vs. Remote Clusters
- Docker Compose Alternatives for Kubernetes
- 5 Key Elements for a Great Developer Experience with Kubernetes
- Kubernetes Multi-Tenancy – A Best Practices Guide
- Kubernetes Network Policies: A Practitioner’s Guide
- Kubernetes RBAC: Basics and Advanced Patterns
- Kubernetes Probes: Startup, Liveness, Readiness
- Kubernetes Startup Probes - Examples & Common Pitfalls
- Kubernetes Liveness Probes - Examples & Common Pitfall
- 10 Essentials For Kubernetes Multi-Tenancy
- A Guide to Using Kubernetes for Microservices
- Kubernetes StatefulSet - Examples & Best Practices
- Kubernetes Service Account: What It Is and How to Use It
- Kubernetes NGINX Ingress: 10 Useful Configuration Options
- A Complete Guide to Kubernetes Cost Optimization
- Advanced Guide to Kubernetes Ingress Controllers
- GitOps + Kubernetes Explained
- Why Platform Engineering Teams Should Standardize on Kubernetes
- Platform Engineering on Kubernetes for Accelerating Development Workflows