

Table of Contents
Single Sign-On (SSO) has become a prominent part of enterprise strategy to bolster the security posture of user identification across different applications. SSO is an authentication system for users that enables them to use a single set of credentials when accessing a number of autonomous software systems. With this security model, companies can create federated identities for users across their different platforms. This is common for businesses granting internal teams access to tools like Google Workspace, Slack, Asana, etc. However, SSO is not restricted to applications of this nature; it can also be used with a platform like Kubernetes.
As a system, Kubernetes separates the processes of authentication (authn) and authorization (authz) of users and applications. There are several approaches that can be used to authenticate users. From these options, OpenID Connect (OIDC) can be used to set up an SSO authentication model for your clusters. Having SSO for Kubernetes in place allows organizations to strengthen, consolidate, and simplify identity management for cluster users at scale. Furthermore, it empowers software teams with the necessary parameters to best execute cluster operations.
This article will delve into the what and why of SSO in the context of Kubernetes and will also provide a step-by-step guide to configure SSO for your clusters with Okta and Loft.
#What Is SSO for Kubernetes?
At this point in time, Kubernetes doesn’t maintain an internal system for the storage and management of user accounts. Instead, users have to be created and managed outside of the cluster. This begs the question, “How exactly does user authentication work?” For starters, authentication is the process of validating that a user or entity is who they claim to be. In the context of Kubernetes, any user attempting to interact with a Kubernetes cluster must have a certain set of credentials attached to their client request. These credentials are passed off and validated against an external authn module.
If your organization uses an identity provider (IdP) with OIDC support, you can extend this identity solution to fulfill the role of authentication for your Kubernetes clusters. OIDC is an authentication protocol based on the OAuth 2.0 specifications with an additional layer on top of OAuth 2.0. This layer adds login and profile information about the logged-in identity. An IdP that supports OIDC, like Okta, allows you to extend the user lifecycle management of creating, enabling, and disabling user accounts for your organization to Kubernetes.
SSO forms the basis for mapping centralized identity management to your Kubernetes clusters. This is important because your company’s operators, administrators, developers, and testers will each require different levels of self-service access to your cluster resources. With SSO, you can maintain a single source of truth for team members who have designated roles that map to RBAC definitions in Kubernetes, dictating what operations they can perform. For example, OIDC tokens contain an access token role that can be used with the Kubernetes RBAC API to grant or deny access to cluster resources. As such, any validated cluster users will be able to independently carry out any necessary actions with the predefined permissions in place.
#Implementing Okta SSO for Kubernetes Using Loft
Now, let’s get started with the tutorial. Before you begin, be sure you have:
- An AWS account.
- A registered domain for your Loft instance.
- Terraform (optional).
#Provision Your Kubernetes Cluster
As you would expect, the first requirement you need to meet is to have a remote Kubernetes cluster. In this demonstration, you will use Terraform to create an Amazon EKS cluster using this project. It contains the modules needed to create all the necessary infrastructure in your AWS account. The repository README.md details the steps on how to execute the creation of the infrastructure.
Alternatively, you can provision an Amazon EKS Kubernetes cluster manually using the AWS Console. However, this approach is time-consuming and more prone to misconfigurations in the underlying infrastructure for your cluster.
When the cluster has been provisioned, you can update your local kube configuration (.kube/config) to point to the newly created cluster and verify the connection using the following commands:
aws eks --region <cluster-region> update-kubeconfig --name <cluster-name>
kubectl config current-context
#Install Loft CLI
To install the Loft CLI binary from GitHub, execute one of the following commands depending on your machine’s Operating System:
#Mac Terminal
curl -s -L "https://github.com/loft-sh/loft/releases/latest" | sed -nE 's!.*"([^"]*loft-darwin-amd64)".*!https://github.com\1!p' | xargs -n 1 curl -L -o loft && chmod +x loft;
sudo mv loft /usr/local/bin;
#Linux Bash
curl -s -L "https://github.com/loft-sh/loft/releases/latest" | sed -nE 's!.*"([^"]*loft-linux-amd64)".*!https://github.com\1!p' | xargs -n 1 curl -L -o loft && chmod +x loft;
sudo mv loft /usr/local/bin;
#Windows Powershell
md -Force "$Env:APPDATA\loft"; [System.Net.ServicePointManager]::SecurityProtocol = [System.Net.SecurityProtocolType]'Tls,Tls11,Tls12';
Invoke-WebRequest -UseBasicParsing ((Invoke-WebRequest -URI "https://github.com/loft-sh/loft/releases/latest" -UseBasicParsing).Content -replace "(?ms).*`"([^`"]*loft-windows-amd64.exe)`".*","https://github.com/`$1") -o $Env:APPDATA\loft\loft.exe;
$env:Path += ";" + $Env:APPDATA + "\loft";
[Environment]::SetEnvironmentVariable("Path", $env:Path, [System.EnvironmentVariableTarget]::User);
The binary can also be downloaded from the GitHub releases page here.
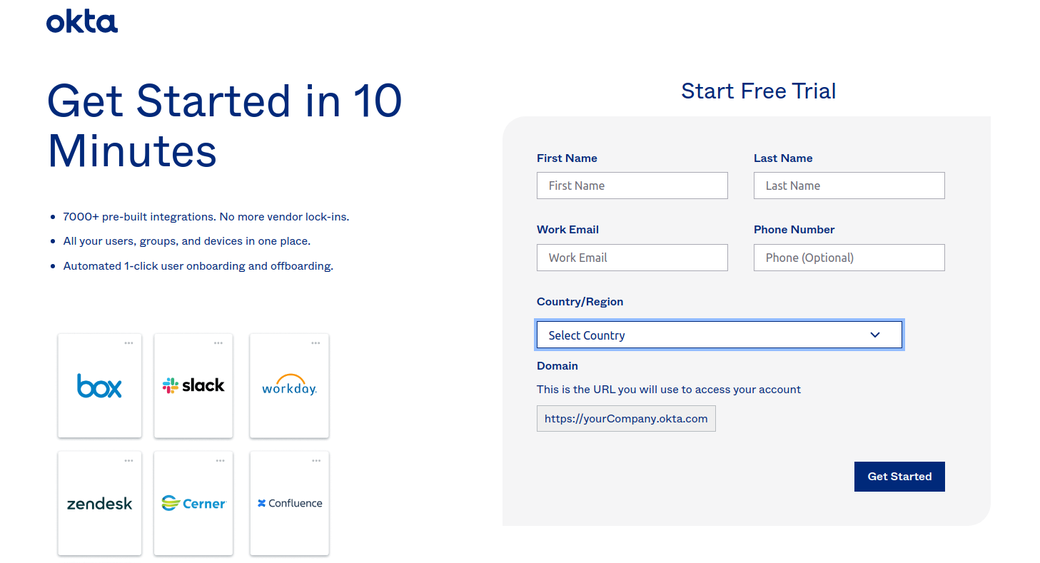
#Create an Okta Account
Next, if you don’t already have an Okta account, you’ll need to create one. The free trial account will suffice; just make sure you have a company email address to complete registration.
#Deploy Loft to Your Kubernetes Cluster
After installing the Loft CLI and creating an Okta account, you can proceed to install Loft on your Kubernetes cluster by running the following command:
loft start
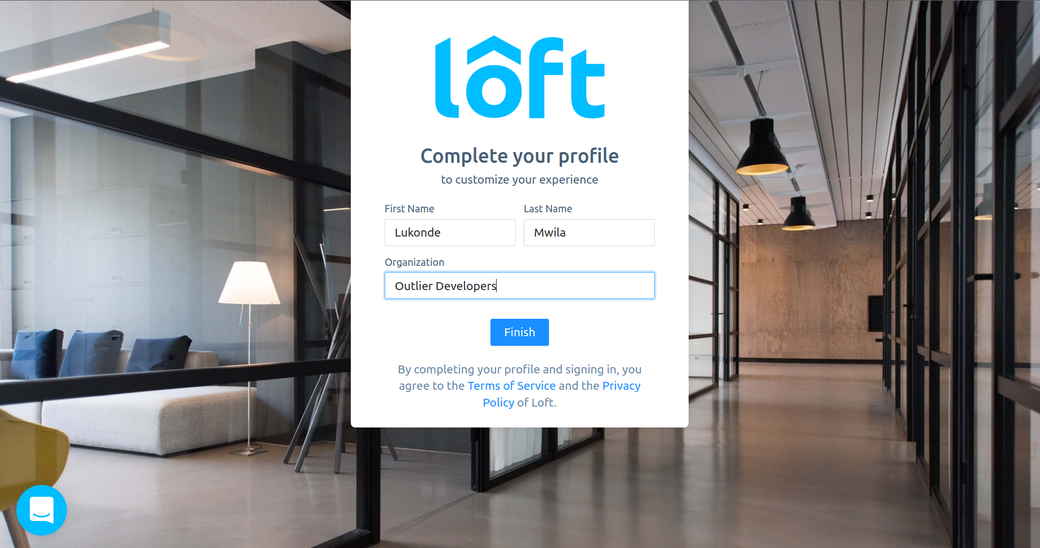
You will be prompted to add an email address that will be used to create the administrator of the Loft account. After that, Loft will be deployed to your cluster.
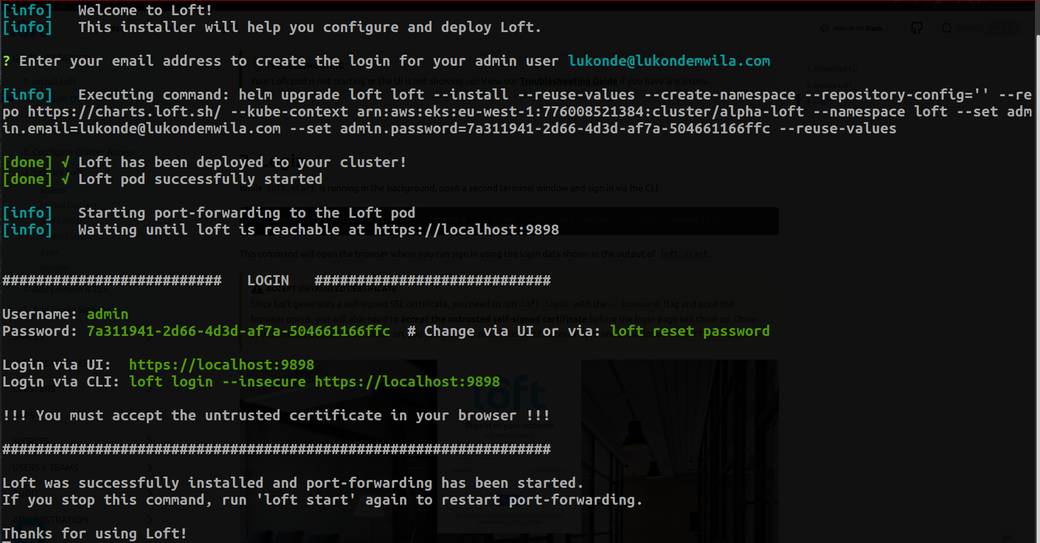
Once the deployment is complete, you will be presented with your login credentials in the terminal to access your Loft account.

#Configure Your Domain for Loft
Now that you have Loft running, you need to configure your instance with a registered domain in order for SSO to work with Okta. As mentioned at the beginning of the tutorial, you’ll need to have a domain name that you can associate with your Loft instance.
The first step is to install the Nginx Ingress Controller:
helm upgrade --install ingress-nginx ingress-nginx --repository-config='' \
  -n ingress-nginx --create-namespace \
  --repo https://kubernetes.github.io/ingress-nginx \
  --set-string controller.config.hsts=false \
  --wait
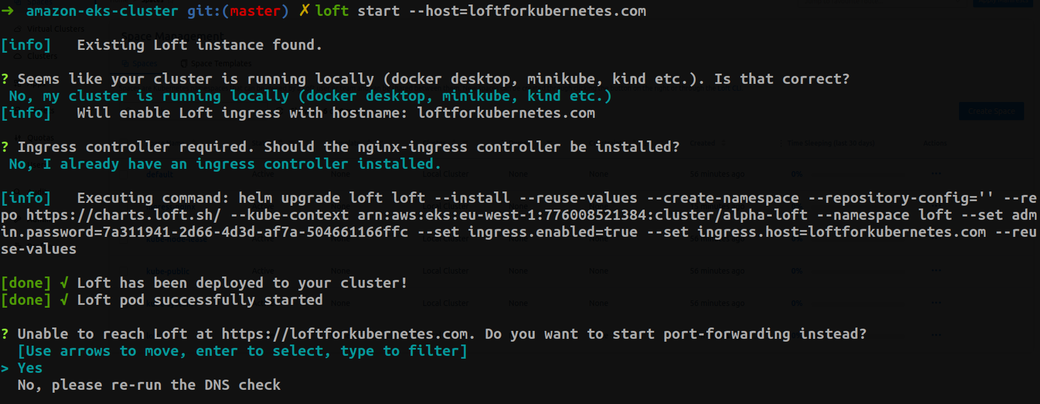
Once the Nginx Ingress Controller has rolled out successfully, you can re-run the loft start command with the --host flag specifying your domain name.
In order for your instance to work with the domain name, you need to ensure that your registered domain has an A record with simple routing configured and that traffic routing is set to forward to the load balancer created by the ingress controller. To do so, re-run the loft start command with your domain name provided as a value for the --host flag:
loft start --host=yourdomainname.com
At this stage, the Loft CLI will prompt you with questions about whether you’re using a remote cluster and if you have an ingress controller installed. After verification, your Loft instance will be re-configured.
#Configure Single Sign-On for Loft
Once the domain has been configured for your Loft instance, you can proceed to configure SSO.
#Create App Integration in Okta
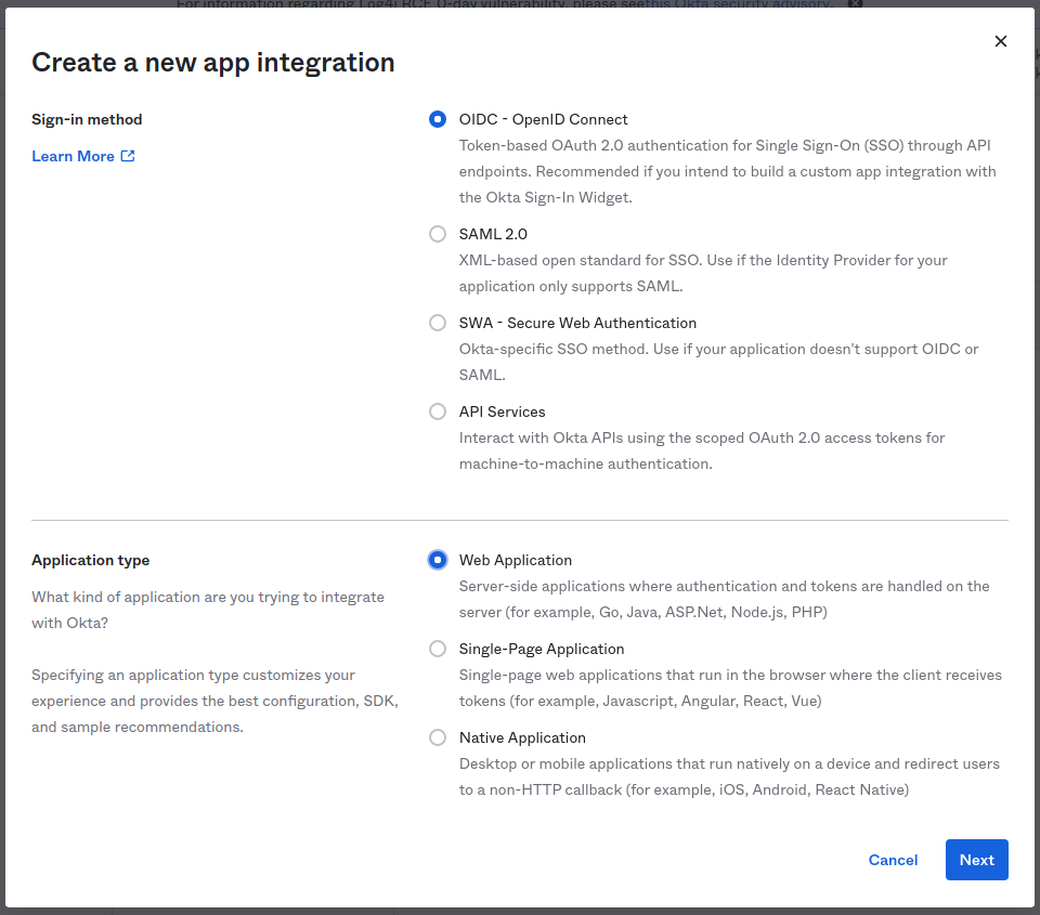
Sign in to your Okta account, navigate to the Application section in the side menu, and click on the Create App Integration button. Select the “OpenID Connect (OIDC)” option for the sign-in method and “Web Application” for the application type.
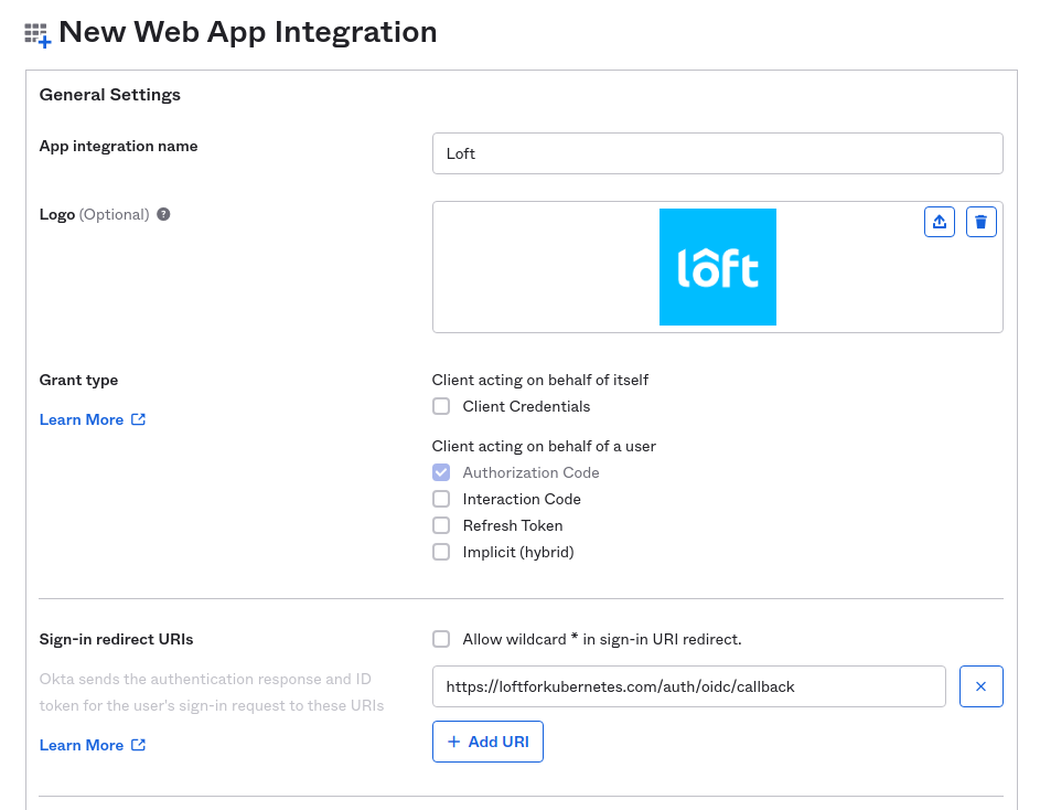
As you configure the integration, make sure you specify the correct domain name for your instance in the sign-in redirect URI.
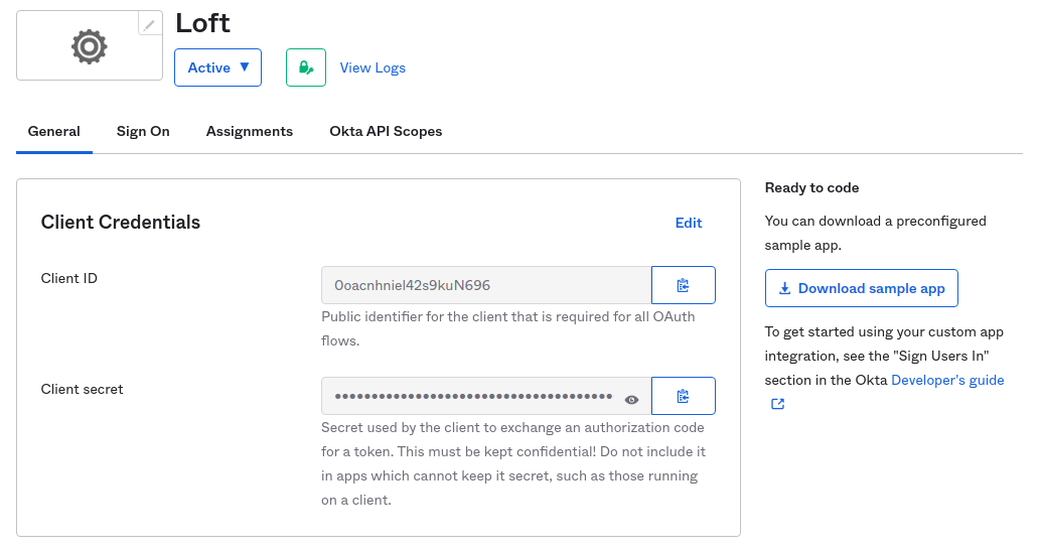
Okta will then generate a Client ID and a Client Secret for your application.
#Update Auth Configuration in Loft
In your Loft administrator account, navigate to Admin > Config and update your configuration with the following details:
auth:
  oidc:
    issuerUrl: 'https://${MY-OKTA-SUBDOMAIN}.okta.com'
    clientId: CLIENT_ID
    clientSecret: CLIENT_SECRET
    groupsClaim: groups
    # This is needed because okta uses thin id tokens
    # that do not contain the groups directly
    getUserInfo: true
Optionally, you can disable the default password-based authentication system managed by Loft by appending the following lines:
auth:
  oidc: ...
  password:
    disabled: true      # Disable password-based authentication
This approach can be useful for organizations wanting to enforce an SSO model for all their personnel accessing Loft. In addition, end users can have a better experience by managing only one set of credentials for Okta.
#Assign Users in Okta
After applying the above changes, you can assign a user or users to your application in Okta. To carry this out, make sure you are signed in to the Admin Console of your Okta account as you were before. Then, proceed to the Loft application you added and navigate to the Assignments tab. You will be presented with the option to either assign people or groups to the application, which will grant users the ability to sign in to Loft with their Okta account.
Here’s what the Loft landing page will look like with Okta configured for SSO along with the default password-based authentication:
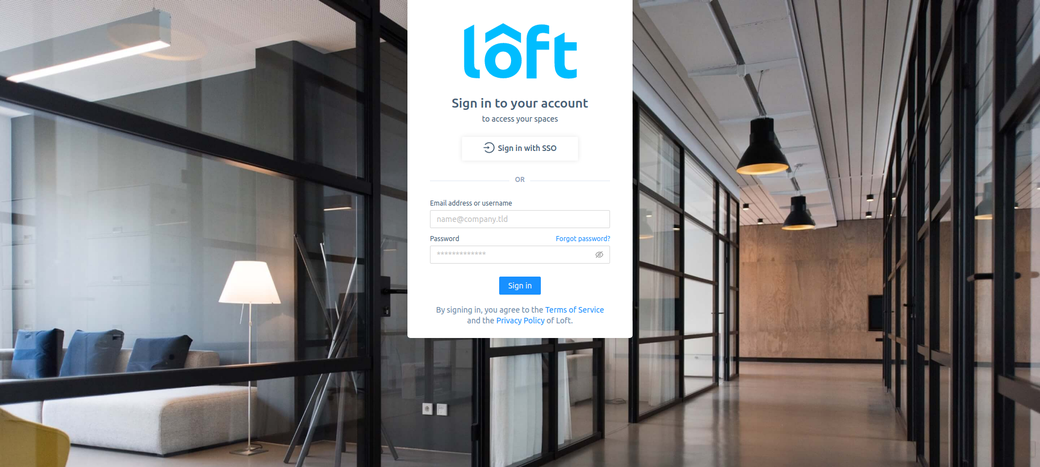
If you disabled the password-based authentication, your sign-in page will look like this:

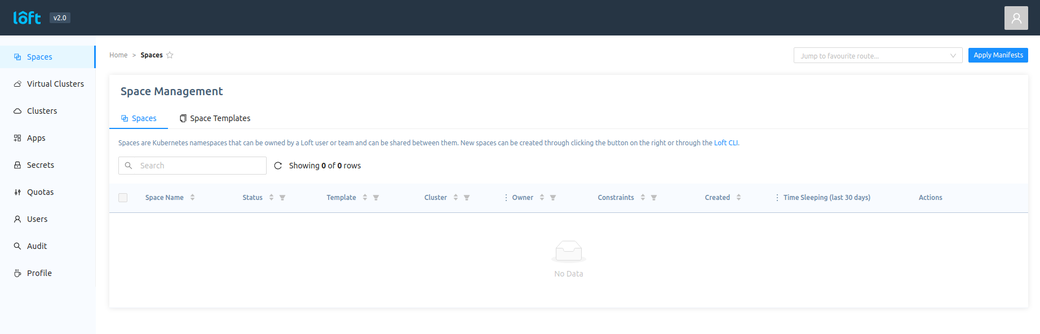
Lastly, once an end user is signed in, they will be presented with the Loft space management screen:
#Conclusion
In this post, you learned about SSO as a security model for identity management and how it can be extended to Kubernetes. Furthermore, this article detailed how to set up SSO for your Kubernetes cluster with Okta and Loft. Loft is a platform designed to empower software teams and enhance developer experience when working with Kubernetes. Be sure to check it out!