Okta Authentication
Create A New App In Okta
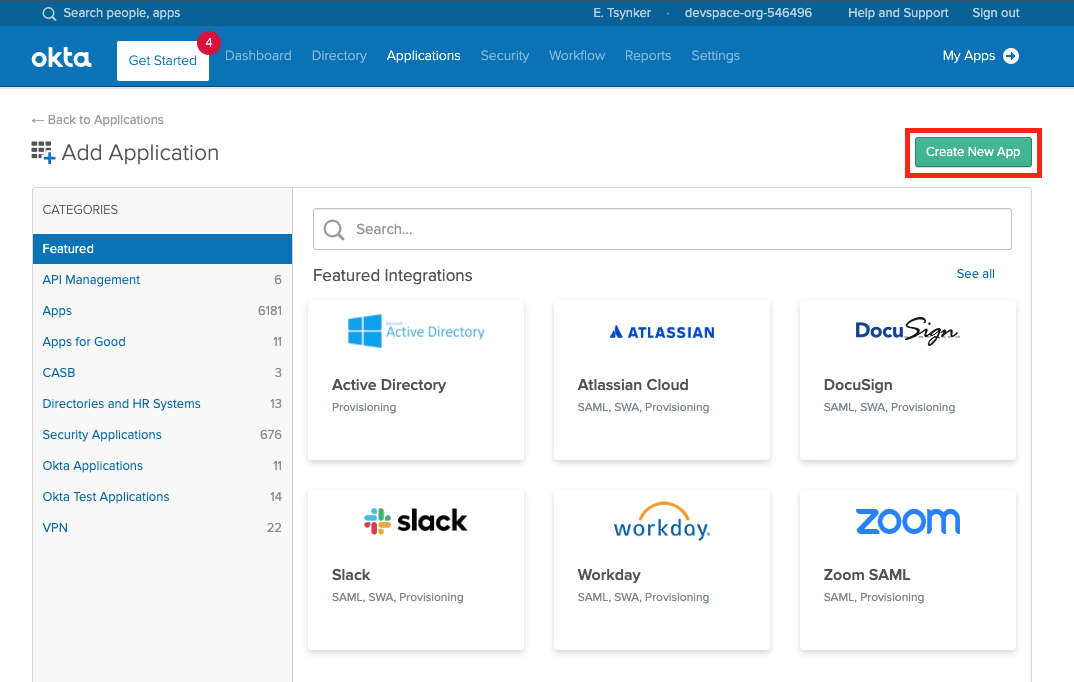
The first step is to create a new Okta App for Loft.
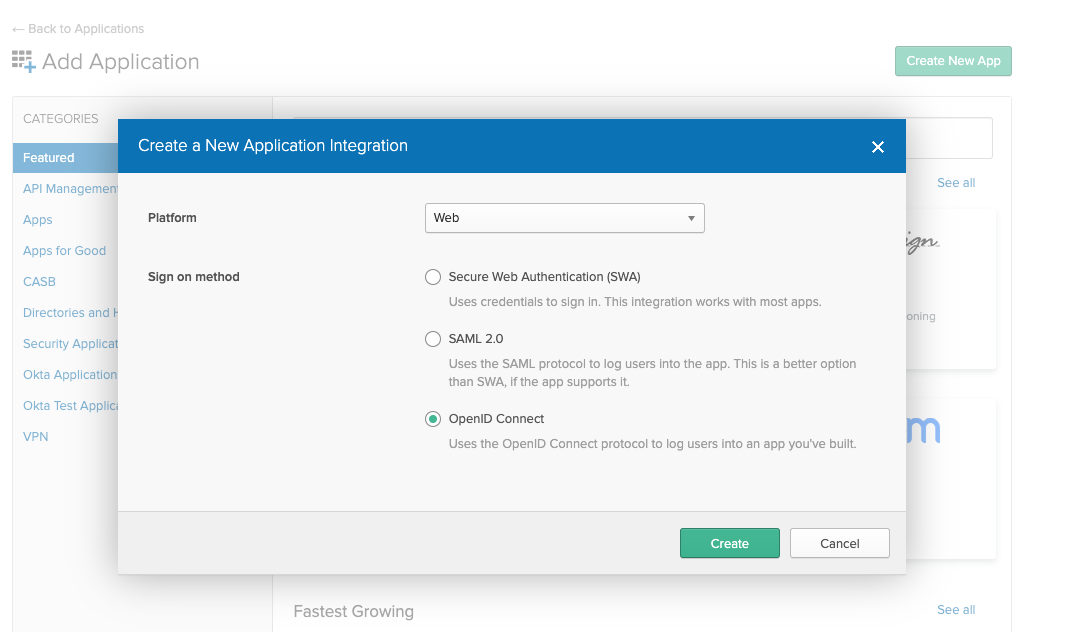
Next select "Web" App and make sure OpenID Connect is the single sign on method.
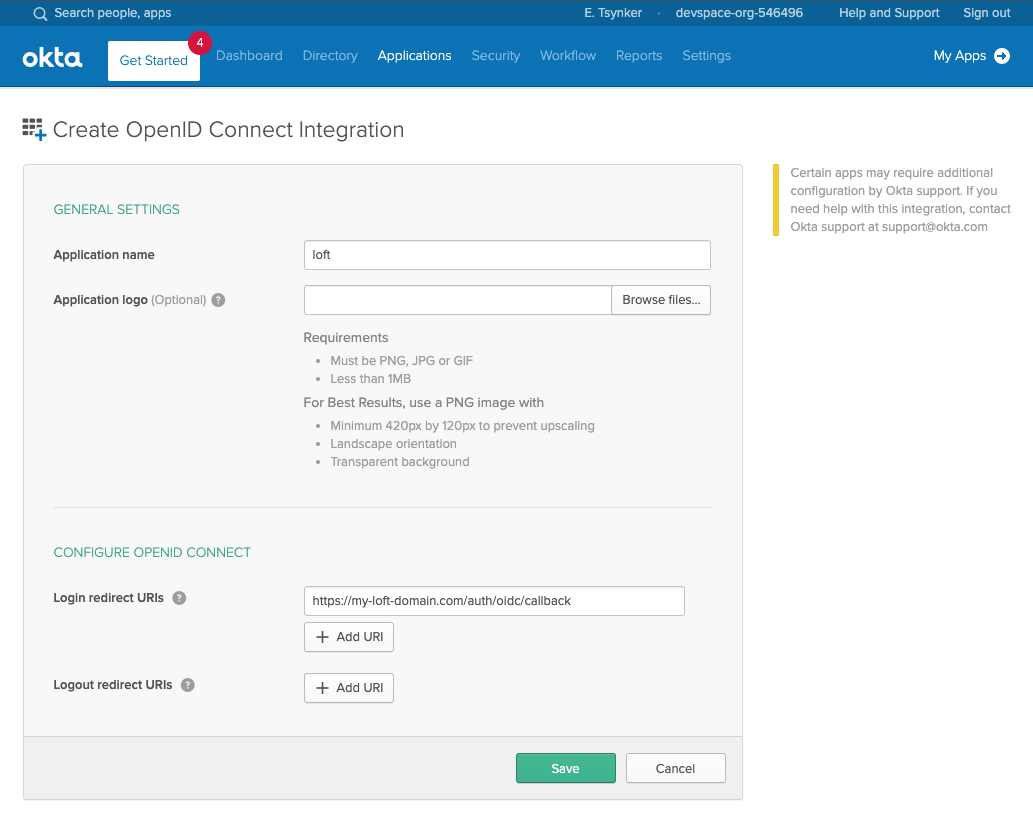
In the next screen make sure the login redirect URIs contain your Loft instance domain:
# Exchange the ${my-loft-domain.com} with your Loft domain
https://${my-loft-domain.com}/auth/oidc/callback
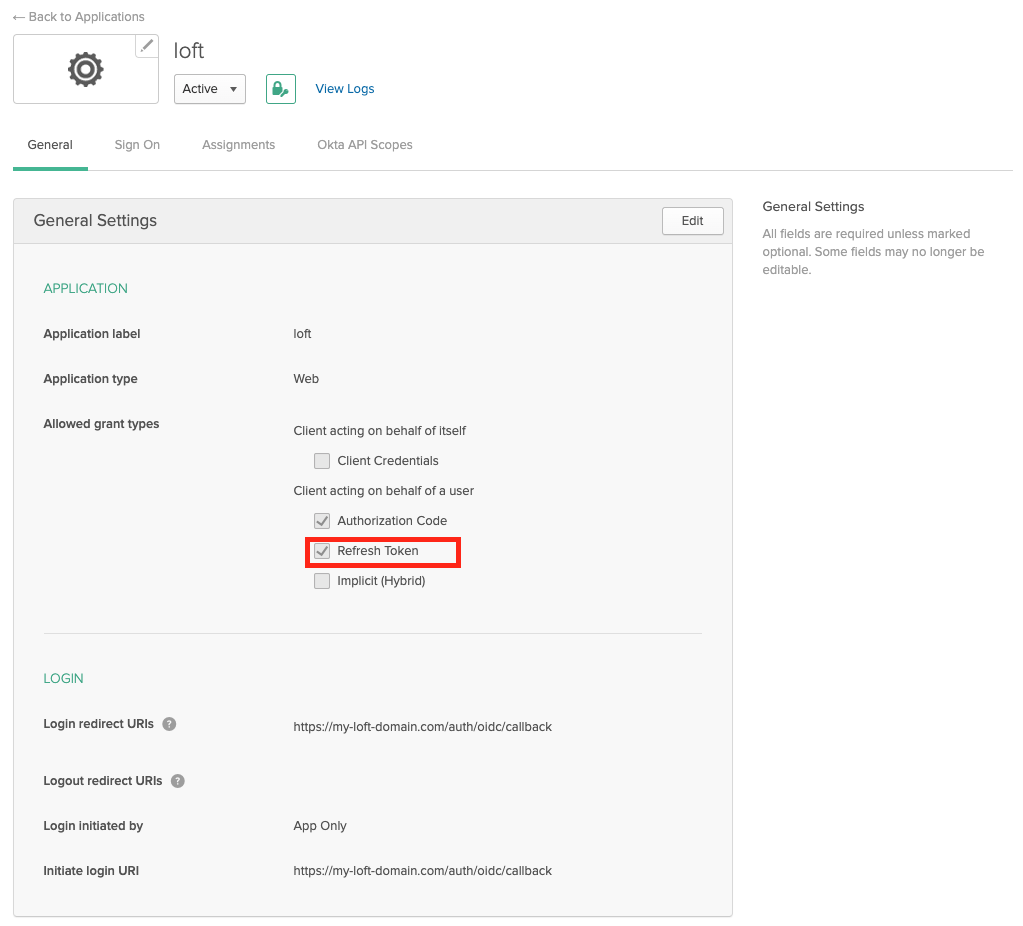
Enable Refresh Tokens
After creating an Okta app for Loft, ensure that "Refresh Token" is checked under "Allowed grant types" - otherwise your users will have to re-login everytime after a session expires.
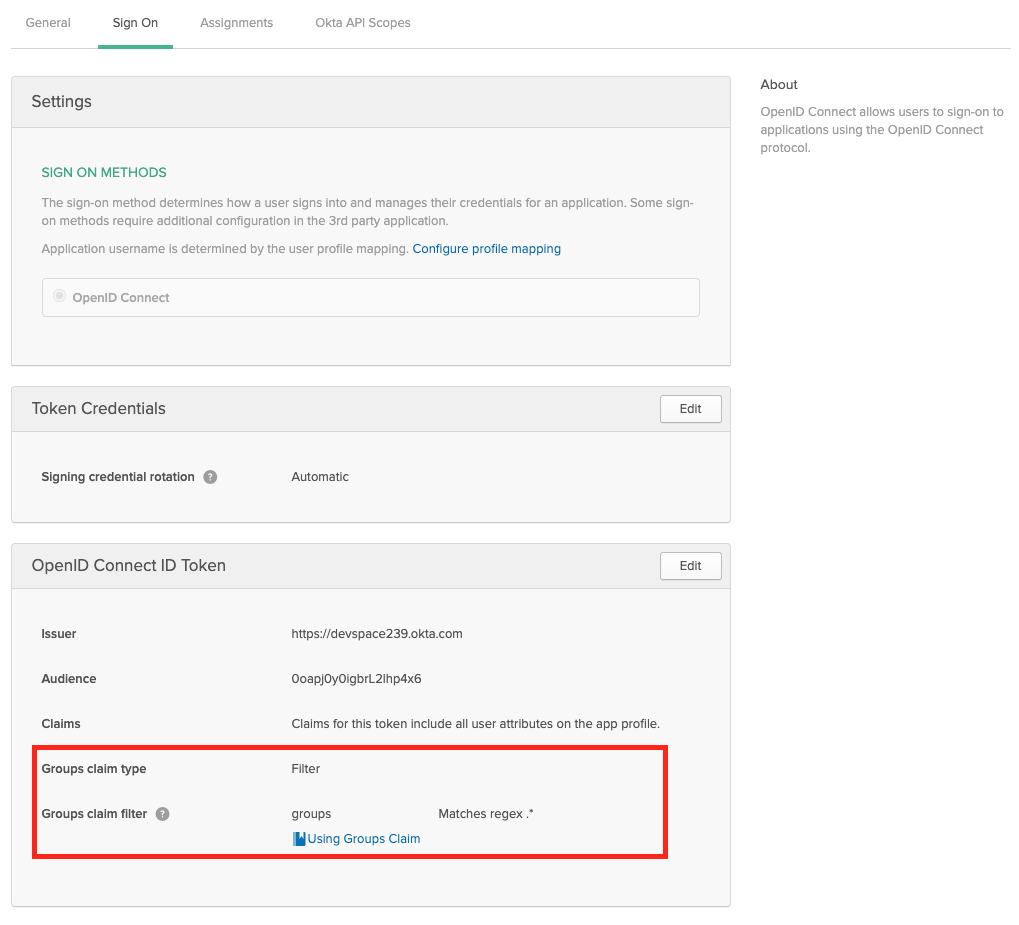
Enable Group Claims
If you want to propagate the users groups to Loft, then make sure the Group Filters in Okta are set accordingly. If you want to propagate all groups, add a RegEx filter with '.*'
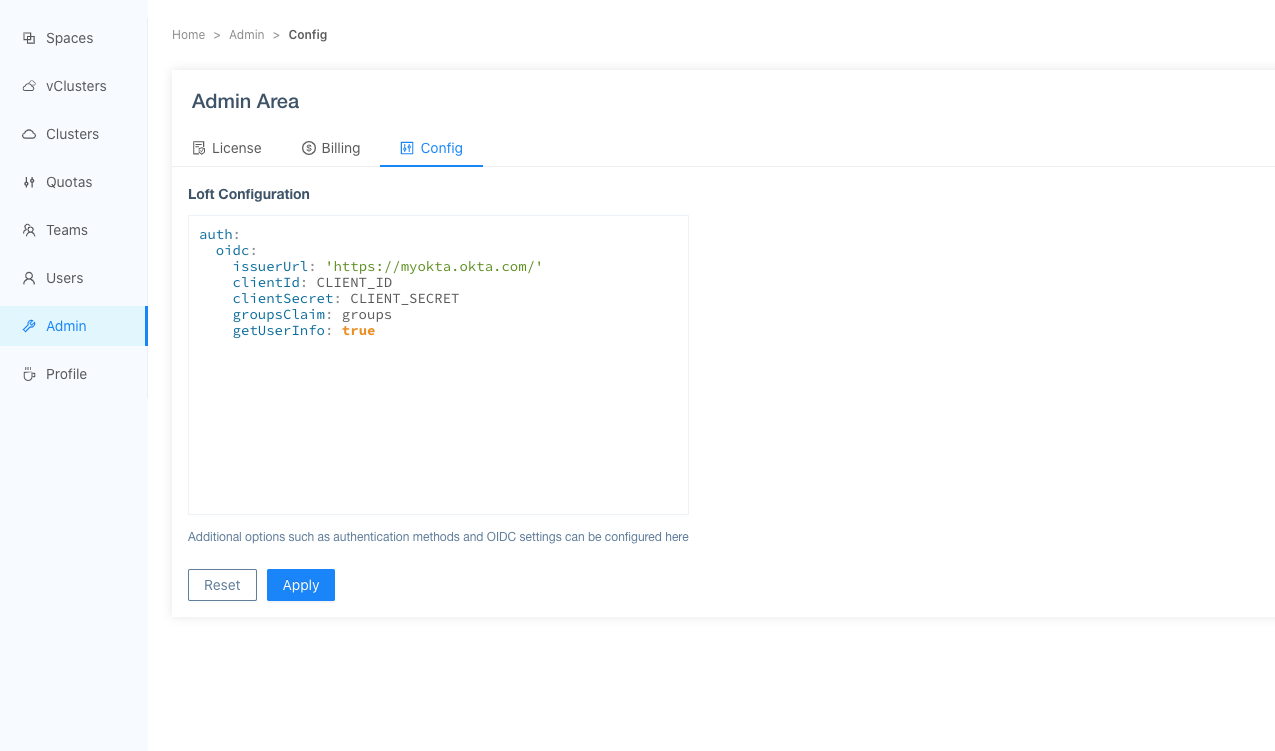
Configure Loft To Use Okta
After configuring Okta for Loft, navigate to Admin > Config in Loft and enter the following configuration:
auth:
oidc:
issuerUrl: 'https://${MY-OKTA-SUBDOMAIN}.okta.com'
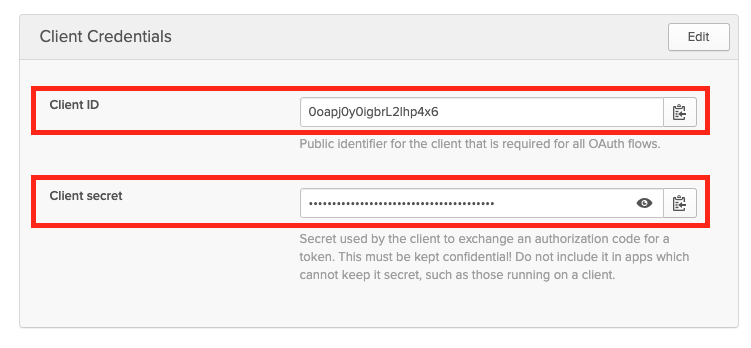
clientId: CLIENT_ID
clientSecret: CLIENT_SECRET
groupsClaim: groups
# This is needed because okta uses thin id tokens
# that do not contain the groups directly
getUserInfo: true
Add Users via Okta Assigments
Please make also sure that you have assigned the correct Users and Groups that you would like to access Loft in Okta.

After users or their groups are assigned to Loft, they will be able to log in via Okta:

Disable Username + Password Authentication (optional)
To disable password-based authentication, navigate to Admin > Config add these two lines to your config:
auth:
  oidc: ...             # This is your SSO configuration (make sure this is working!)
  password:
    disabled: true      # Disable password-based authentication
