Users
Loft provides different authentication mechanisms including password-based authentication and several single sign-on (SSO) options.
Workflows
Add Users
- UI
- kubectl
Create User
Send Invite Link To User (optional)
If you did not specify a password for the user in step 1, Loft will automatically generate an invite link with a one-time access token for this user. If you send these invite links to your users, they will be logged in and asked to change their password.
Create file user.yaml:
apiVersion: management.loft.sh/v1
kind: User
metadata:
  name: john
spec:
  displayName: John Doe
  email: john@acme.tld
  username: john
  subject: john           # Kubernetes subject (use username if in doubt)
  passwordRef:            # Specify this to set the password for the user
    key: password
    secretName: john-password
    secretNamespace: loft
Create file password.yaml:
apiVersion: v1
kind: Secret
metadata:
  name: john-password
  namespace: loft
type: Opaque
data:
  password: INSERT_BASE64_ENCODED_SHA256_PASSWORD_HASH
Create the user using kubectl:
# IMPORTANT: Run these commands inside the cluster where Loft is running
kubectl apply -f password.yaml
kubectl apply -f user.yaml
Reset Passwords
Delete Users
- UI
- kubectl
Delete a user using kubectl:
# IMPORTANT: Make sure to switch to the context of the Loft management cluster!
kubectl delete user [USER_NAME]
Deleting a user will also delete all cluster accounts that are owned solely by this user. Deleting these accounts in turn will also delete other related objects such as account quotas and spaces.
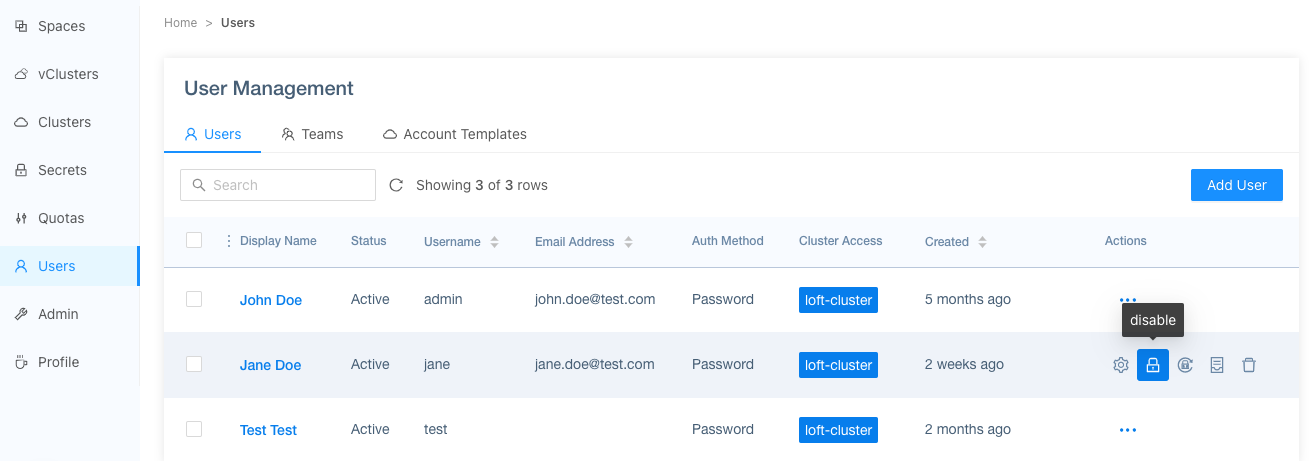
Disable Users
Its possible to disable users that will prevent them from accessing Loft. You can disable an user in the UI under the Users tab. Disabled users will not be able to login anymore and all there currently active sessions will be terminated. However, all spaces, accounts and other user related objects will not be changed.
Cluster Roles
Loft provides an ClusterRole named loft-management-admin that can be assigned to users. This role will allow users to manage all Loft-related ressources within the Loft cluster, i.e. user, cluster, team etc.
Image Pull Secrets
Image pull secrets can be used to automatically login users to specified container image registries as soon as they run loft login (no locally installed docker needed).
Creating a shared image pull secret is very similar to creating an image pull secret in kubernetes itself:
On your computer, you must authenticate with a registry in order to grant other users or teams access to it:
docker login [optional-docker-registry]
When prompted, enter your Docker username and password.
The login process creates or updates a config.json file that holds an authorization token.
View the config.json file:
cat ~/.docker/config.json
The output contains a section similar to this:
{
    "auths": {
        "https://index.docker.io/v1/": {
            "auth": "c3R...zE2"
        }
    }
}
Note: If you use a Docker credentials store, you won't see that auth entry but a credsStore entry with the name of the store as value.
With that information you can create a shared loft secret.

Note: The actual name of the shared secret or key name do not matter and can be chosen freely.
Next, you can configure a user or team to use that image pull secret, by editing the Image Pull Secrets section of the user or team.
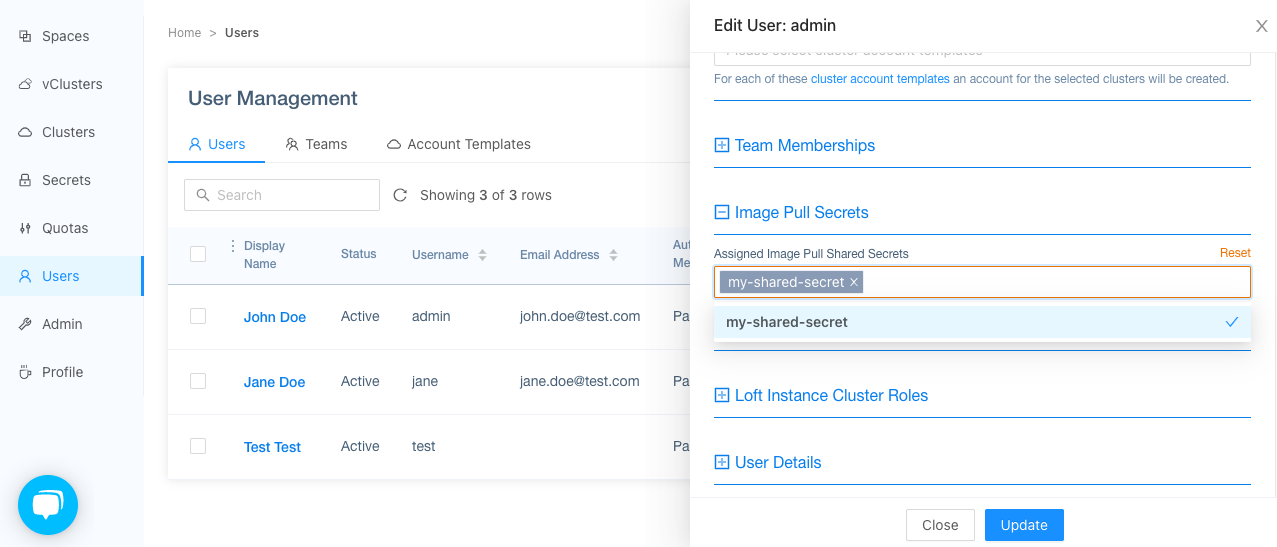
Then press 'Update'. If the user will now login, he will also login into the specified container registry:
$ loft login loft.my-company.tld
[info]   If the browser does not open automatically, please navigate to https://loft.my-company.tld/login?cli=true
[done] √ Successfully logged into loft at https://loft.my-company.tld
[done] √ Successfully logged into docker registry 'docker hub'
In order for the user to login with an image pull secret, the user or the team need to have access to view the shared secret, otherwise they will not be able to login into the container registry. You can change the access to a shared secret in the Secrets > YOUR-SECRET > Access tab.
