Apps in Loft
Apps in Loft allow you to package applications and scripts to share them with other members of your organization.
Working with Apps
Creating Apps
Loft lets you create 3 types of apps:
kubectl Apps
kubectl Apps- Go to the Apps view using the menu on the left
- Click on the button
- Use the field Display Name to define the name of this app
- Use App Definition, ensure that the kubectl tab is selected
- Use the Kubernetes Manifests textarea to specify Kubernetes YAML Manifests... for this app
- OPTIONAL: Expand the section to specify parameters that you can use as placeholders in your Kubernetes manifests (previous step) and users will be asked to fill when deploying this app
- OPTIONAL: Expand the section to specify how users will see this app in Loft UI, e.g. specify an icon for the app, define if Loft should mark this app as recommended app, and/or provide a for this app
- Click on the button at the very bottom
helm Apps
helm Apps- Go to the Apps view using the menu on the left
- Click on the button
- Use the field Display Name to define the name of this app
- Use App Definition, ensure that the helm tab is selected
- Use the Chart Name field to specify the Chart Name
- Use the Chart Version field to specify the x.x.x version of the chart
- Use the Chart Repository field to specify the https://chart.repo.url where Loft can find the chart you specified above and specify a username and password below if the chart repository URL is password protected
- OPTIONAL: Use the Chart Values field to specify the yaml: values for this chart
- OPTIONAL: Expand the section to specify parameters that you can use as placeholders in your Kubernetes manifests (previous step) and users will be asked to fill when deploying this app
- OPTIONAL: Expand the section to specify how users will see this app in Loft UI, e.g. specify an icon for the app, define if Loft should mark this app as recommended app, and/or provide a for this app
- Click on the button at the very bottom
bash Apps
bash Apps- Go to the Apps view using the menu on the left
- Click on the button
- Use the field Display Name to define the name of this app
- Use App Definition, ensure that the bash tab is selected
- Use the Kubernetes Manifests textarea to specify Kubernetes YAML Manifests... for this app
- OPTIONAL: Expand the section to specify parameters that you can use as placeholders in your Kubernetes manifests (previous step) and users will be asked to fill when deploying this app
- OPTIONAL: Expand the section to specify how users will see this app in Loft UI, e.g. specify an icon for the app, define if Loft should mark this app as recommended app, and/or provide a for this app
- Click on the button at the very bottom
Deploying Apps
Loft users can deploy apps directly to spaces and virtual clusters, or they can use them in templates for spaces and virtual clusters.
Deploy Apps to Spaces
- Go to the Spaces view using the menu on the left
- Click on the Space Name to navigate into the namespace
- Switch to the Apps tab
- Click on the Install App button
- In the drawer that appears on the right, use the field to search for and then select the App you want to deploy (general Helm charts from Artifact Hub or your private Helm repos may be shown here as well)
- Optional: Specify additional options and parameters for the app as they appear for the respective app (e.g. Helm values)
- Click on the button at the very bottom
Deploy Apps to Virtual Clusters
- Go to the Virtual Clusters view using the menu on the left
- Click on the Virtual Cluster Name to navigate into the virtual cluster
- Switch to the Apps tab
- Click on the Install App button
- In the drawer that appears on the right, use the field to search for and then select the App you want to deploy (general Helm charts from Artifact Hub or your private Helm repos may be shown here as well)
- Optional: Specify additional options and parameters for the app as they appear for the respective app (e.g. Helm values)
- Click on the button at the very bottom
Add Apps to Space Templates
- Go to the Spaces view using the menu on the left
- Switch to the Space Templates tab
- Click the button to create a new space template
- In the drawer that appears on the right, use the field Display Name to specify a Name for your space template
- Specify sleep mode settings as well as enforced labels and annotations for the spaces that will be created from this template
- Expand the section to specify which apps should be deployed as part of this template
- On the very bottom, click on the button to create this space template
Add Apps to Virtual Cluster Templates
- Go to the Virtual Clusters view using the menu on the left
- Switch to the Virtual Cluster Templates tab
- Click the button to create a new virtual cluster template
- In the drawer that appears on the right, use the field Display Name to specify a Name for your virtual cluster template
- Specify any of these options: labels, annotations, virtual cluster version, helm values and apps to deployed
- Expand the section to specify which Space Template should be applied for the underlying host namespace if being created as part of the virtual clusters creation process
- On the very bottom, click on the button to create this virtual cluster template
Control Access To Apps
Loft makes it easy for users to configure who can instantiate, view, or edit an app.
- In the Apps view, hover over the app that you want to give someone access to
- While hovering over the row, you will see buttons appear on the right in the Actions column
- Click on the button to Edit the app
- In the drawer that appears on the right, expand the section
- If the user or team is not listed under Users & Teams yet, click the + Rule button to add another row for a new user or team
- Use the Users & Teams field to select the Users and/or Teams who should get access to this app
- Use the Permissions field to specify if a user is allows to view, update, ... this app definition
- On the very bottom, click on the button to save the changes
Configuration
Metadata
Display Name
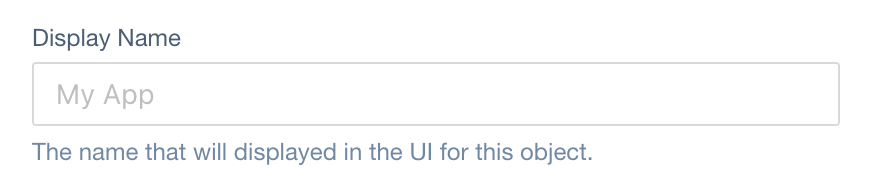
JSONPath in App CRD:
spec.displayName (type: string)
Kubernetes Name
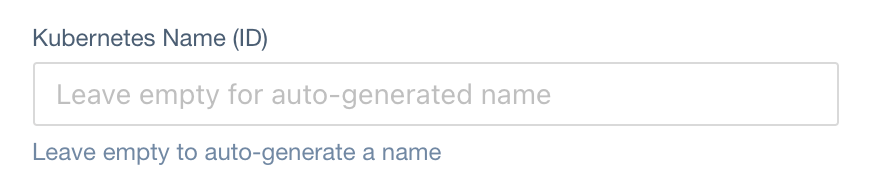
JSONPath in App CRD:
metadata.name (type: string)
Description

JSONPath in App CRD:
spec.description (type: string)
Labels

JSONPath in App CRD:
metadata.labels (type: map[string]string)
Annotations

JSONPath in App CRD:
metadata.annotations (type: map[string]string)
App Definition
Kubectl Manifests

JSONPath in App CRD:
spec.config.manifests (type: map[string]string)
Helm Charts
Chart Name
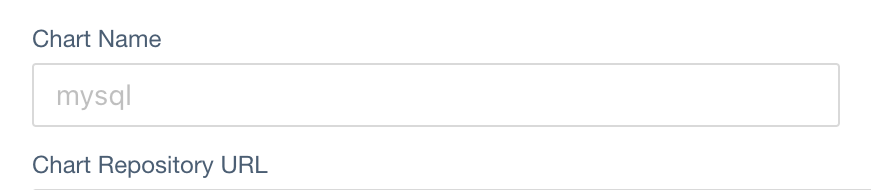
JSONPath in App CRD:
spec.config.chart.name (type: string)
Chart Version

JSONPath in App CRD:
spec.config.chart.version (type: string)
Chart Repository

JSONPath in App CRD:
spec.config.chart.repoURL (type: string)
Chart Repository Username

JSONPath in App CRD:
spec.config.chart.username (type: string)
Chart Repository Password
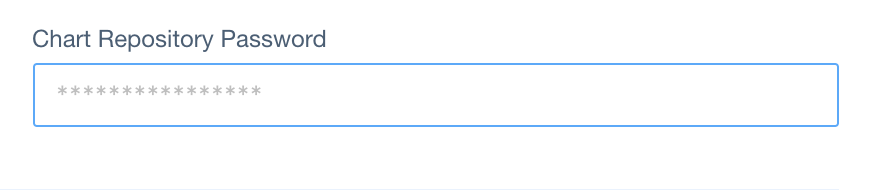
JSONPath in App CRD:
spec.config.chart.password (type: string)
Chart Values

JSONPath in App CRD:
spec.config.values (type: string)
Skip TLS Checks

JSONPath in App CRD:
spec.config.chart.insecureSkipTlsVerify (type: boolean)
Bash Scripts

JSONPath in App CRD:
spec.config.manifests (type: string)
Wait

JSONPath in App CRD:
spec.wait (type: boolean)
Parameters

JSONPath in App CRD:
spec.parameters (type: AppParameter[])
Display Options
App Icon
JSONPath in App CRD:
spec.icon (type: string)
Recommended App
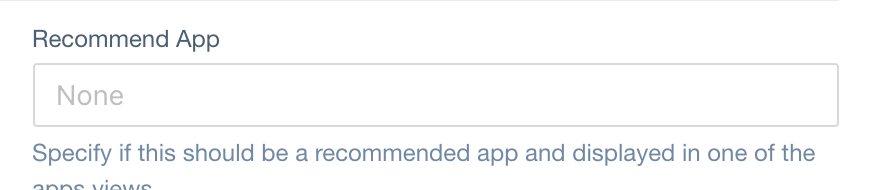
JSONPath in App CRD:
spec.recommendedApp (type: string[])
Readme

JSONPath in App CRD:
spec.readme (type: string)
Access To App
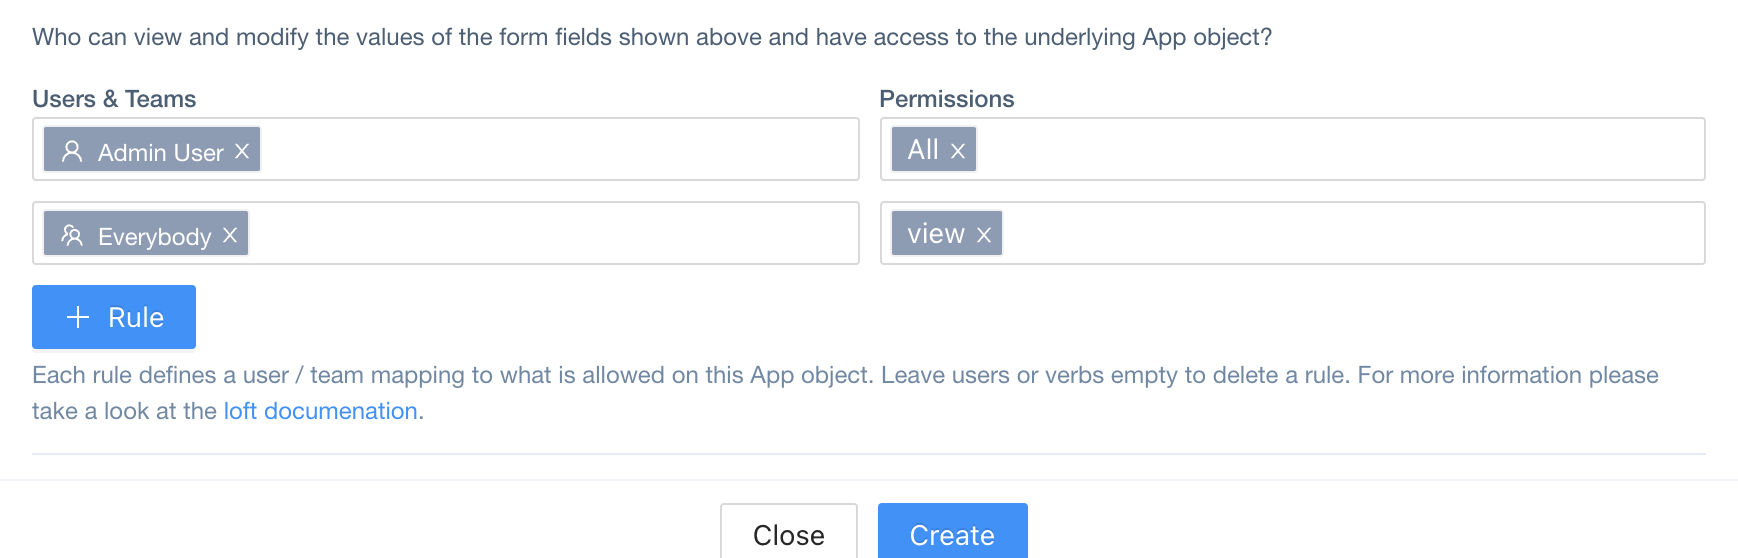
JSONPath in App CRD:
spec.access (type: Access[])